
Creating an Instant Ink Account
Creating an HP Instant Ink account is a straightforward process that involves a few simple steps. Here’s a guide on how to create an Instant Ink account:
- Visit the Instant Ink Website: Start by visiting the official HP Instant Ink website (instantink.hpconnected.com) using a web browser on your computer or mobile device.
- Sign Up for Instant Ink: On the Instant Ink website, you will find a “Sign Up Now” or “Get Started” button. Click on it to begin the account creation process.
- Provide Personal Information: Fill out the required information to create your Instant Ink account. This typically includes your name, email address, and a password. Follow the on-screen instructions and provide the necessary details accurately.
- Enter Printer Information: After entering your personal information, you will be prompted to provide details about your printer. This includes the printer model and its unique serial number. The serial number is usually located on a label or tag on the printer itself. Follow the instructions on the website to locate and enter the serial number accurately.
- Select a Subscription Plan: Once you have entered your printer information, you will be presented with the available subscription plans. Review the different plans and select the one that best suits your printing needs. The plans are typically categorized based on the number of pages you expect to print each month.
- Add Payment Information: To complete the account setup, you will need to provide payment information. This includes your preferred payment method, such as a credit card, to cover the monthly charges associated with your chosen subscription plan. Follow the instructions on the website to securely enter your payment details.
- Review and Confirm: Before finalizing the account creation, carefully review the information you have provided. Ensure that your personal details, printer information, subscription plan, and payment information are accurate. Make any necessary corrections or adjustments.
- Agree to Terms and Conditions: Read and accept the terms and conditions of the Instant Ink service. This may include consent for HP to monitor your ink levels and automatically send replacement cartridges when needed.
- Complete the Account Setup: Once you have reviewed and confirmed all the details, click on the “Create Account” or “Sign Up” button to complete the Instant Ink account setup process. You will receive a confirmation message indicating that your account has been created successfully.
After creating your Instant Ink account, you can log in to the account dashboard to manage your subscription, monitor ink levels, and access other features and settings related to the service. Remember to regularly check your email for important updates and notifications from HP regarding your Instant Ink account.
By following these steps, you can create an HP Instant Ink account and start enjoying the benefits of the ink replacement service for your compatible HP printer.
Enrolling a Printer
Enrolling your HP printer in the HP Instant Ink service is a simple process that involves a few steps. Here’s a guide on how to enroll your printer in Instant Ink:
- Ensure Printer Compatibility: Confirm that your printer model is compatible with HP Instant Ink. Check the HP website or the Instant Ink enrollment page to verify if your specific printer model is eligible for the service.
- Connect the Printer to the Internet: Ensure that your printer is connected to the internet. Most HP printers have built-in Wi-Fi connectivity, allowing them to connect to your home or office network. Refer to your printer’s user manual or the HP support website for instructions on how to establish a wireless connection.
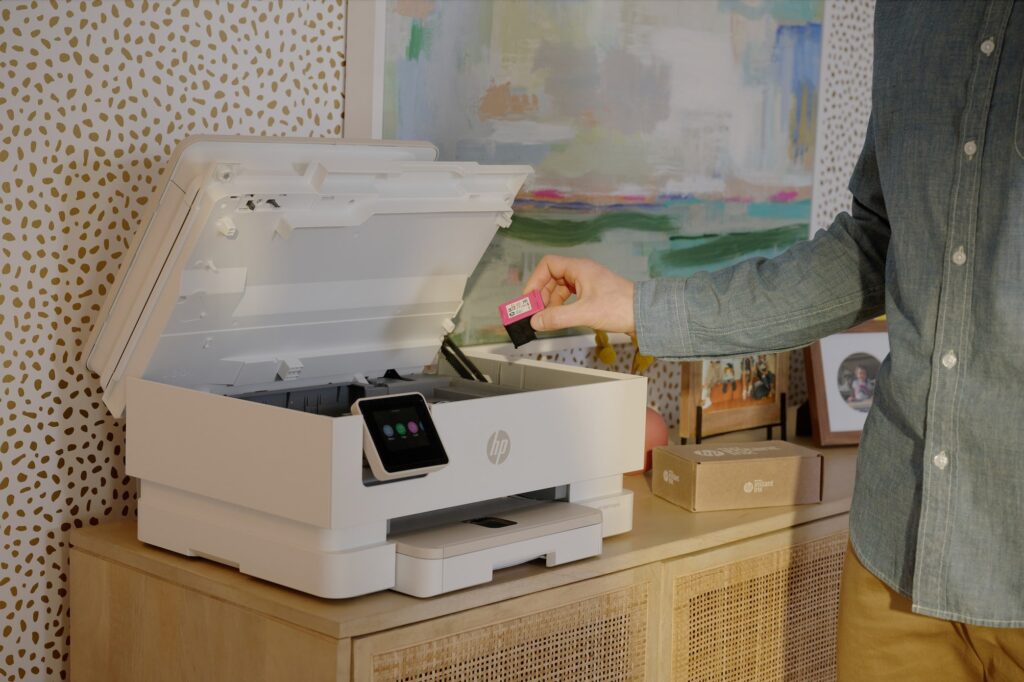
- Prepare the Printer: Make sure your printer is turned on and ready for enrollment. Ensure that it has paper loaded in the paper tray and that the ink cartridges are properly installed and in working condition.
- Access the Printer’s Control Panel: Depending on your printer model, locate and access the control panel on the printer. This can typically be done by pressing the “Menu” or “Setup” button on the printer’s control panel. Refer to your printer’s user manual if you are unsure about how to access the control panel.

- Navigate to the Instant Ink Section: Once you are on the printer’s control panel, navigate through the options to find the section related to Instant Ink or HP Connected. The specific location of this section may vary depending on your printer model. Look for options like “HP Instant Ink,” “Web Services,” or “HP Connected” in the menu.
- Follow the On-Screen Prompts: Once you have accessed the Instant Ink section, the printer’s display will guide you through the enrollment process. The printer will display prompts or instructions on how to complete the enrollment. Follow the on-screen instructions and respond to any questions or prompts presented.
- Enter the Required Information: During the enrollment process, you may be asked to enter specific details, such as your Instant Ink account credentials (email and password) or the unique code provided by HP. Provide the requested information accurately to proceed with the enrollment.
- Confirm Enrollment and Accept Terms: Review the enrollment details and terms of service presented on the printer’s control panel. Once you are satisfied, confirm your enrollment and accept the terms to complete the process.
- Wait for Confirmation: After confirming your enrollment, the printer will establish a connection with the HP servers to register your printer for Instant Ink. This process may take a few moments. Wait for the printer to display a confirmation message indicating successful enrollment.
- Verify Enrollment: To confirm that your printer has been successfully enrolled in Instant Ink, you can log in to your Instant Ink account online or through the HP Smart app. Check if your printer is listed under the enrolled devices section.
By following these steps, you can enroll your compatible HP printer in the HP Instant Ink service. Once enrolled, your printer will automatically communicate with HP to monitor ink levels and ensure that replacement cartridges are sent to you when needed, making your printing experience more convenient and hassle-free.
Select a Subscription Plan
Selecting a subscription plan for HP Instant Ink is an important step in enrolling in the service. Here’s a guide to help you choose the right subscription plan:
- Assess Your Printing Needs: Start by evaluating your typical printing habits and requirements. Consider factors such as the number of pages you print on average per month, the types of documents you print (e.g., black and white text, color images), and any fluctuations in your printing volume throughout the year.
- Review the Plan Options: HP Instant Ink offers different subscription plans with varying monthly page allowances. The plans are typically categorized based on the number of pages you expect to print each month, such as 50 pages, 100 pages, 300 pages, or higher. Review the available plan options and their corresponding prices.
- Estimate Your Monthly Page Count: Estimate your average monthly page count based on your printing needs. This estimation will help you determine which plan is most suitable for you. If you’re uncertain about your page count, consider tracking your printing activity for a month to get a better idea.
- Consider Overage and Rollover Pages: Take into account the additional charges for exceeding your monthly page allowance. If you occasionally print more pages than your plan includes, check the overage fees for each plan. Some plans offer rollover pages, allowing you to carry over unused pages to the next month, which can be beneficial if your printing volume fluctuates.

- Compare Pricing and Value: Evaluate the pricing structure of each plan and compare it to your estimated monthly page count. Consider the cost per page for each plan and how it aligns with your budget and printing needs. Assess the value you’ll be getting from the plan based on the number of pages you typically print.
- Future Printing Needs: Anticipate any changes in your future printing needs. If you expect your printing volume to increase or decrease significantly in the near future, consider choosing a plan that accommodates those changes. You can easily switch plans if your needs change later on.
- Special Considerations: Take note of any special considerations or features offered with certain plans. For example, HP Instant Ink occasionally offers promotional plans with additional benefits or incentives. Check for any current promotions or special offers that may make a particular plan more appealing.
- Make Your Selection: Based on your assessment of your printing needs, estimated page count, pricing, and any special considerations, choose the Instant Ink subscription plan that best aligns with your requirements. Select the plan that offers a suitable page allowance at a reasonable cost, ensuring that it meets your current and future printing needs.
During the enrollment process, you will have the opportunity to select your chosen plan. Follow the prompts and instructions on the Instant Ink website or through the HP Smart app to make your selection and complete the enrollment.
* As an HP Affiliate, we earn commissions from qualifying purchases